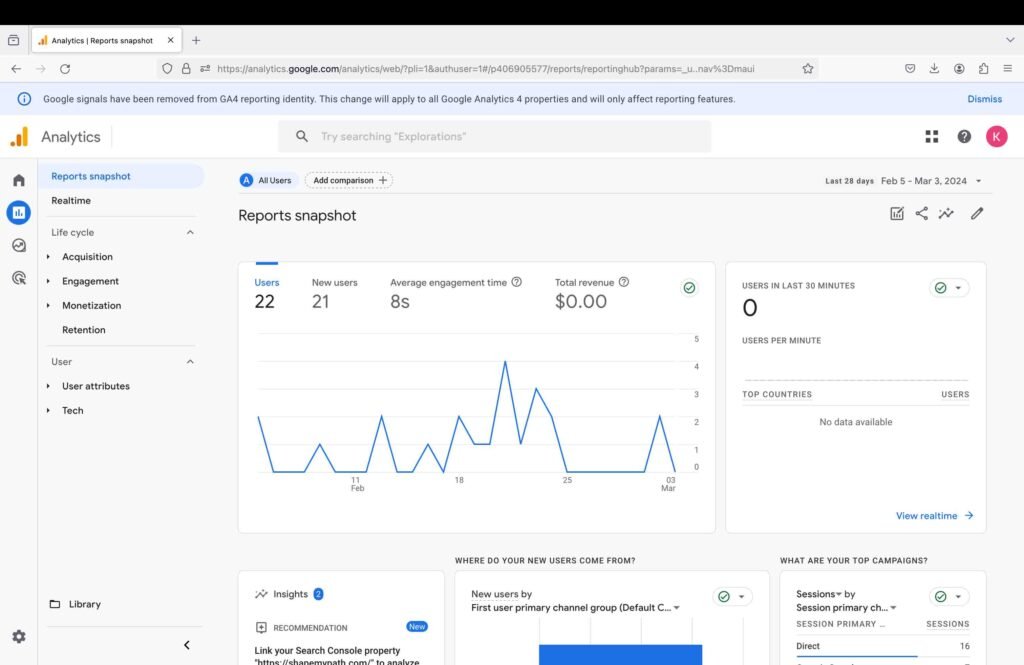
In this article, we will learn how to set up Google Analytics for your WordPress website. Before we get started, let’s first understand what Google Analytics is.
What is Google Analytics?
Google Analytics is a free tool that you can use to access various metrics related to your website. These metrics provide key insights into your website and business performance. Google Analytics tracks your website’s visitors’ behavior and demographics, such as, how they reached the website, how much time they spend, which country they are from, etc. Specifically, from an e-commerce store standpoint, it tracks the shopping behavior of site visitors. Some of the key metrics offered by Google Analytics are as below:
- Total number of users, new users, and the average engagement time spent by the users on your website.
- How users reached your website, i.e., direct vs. organic search.
- Users, new users, and returning users by country map.
- Views by pages.
- User and traffic acquisition reports.
- Various reports related to user engagement and retention.
- User demographic reports such as age, country, city, and language.
Let’s explore the step-by-step process to set up Google Analytics for your WordPress website:
1. Login to Google Analytics
The first step is to log in to the Google Analytics website using your Gmail ID. Click the following link to visit the Google Analytics website. Below is the link to the website:
Once you are on the website, perform the following steps:
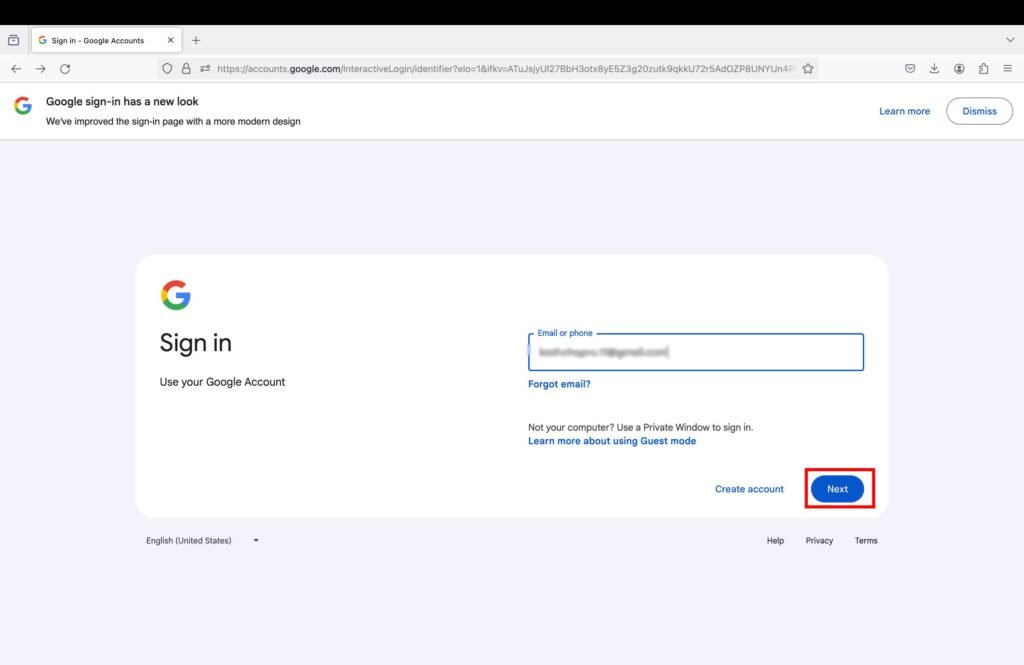
- Enter your Gmail ID.
- Click “Next” to proceed further.
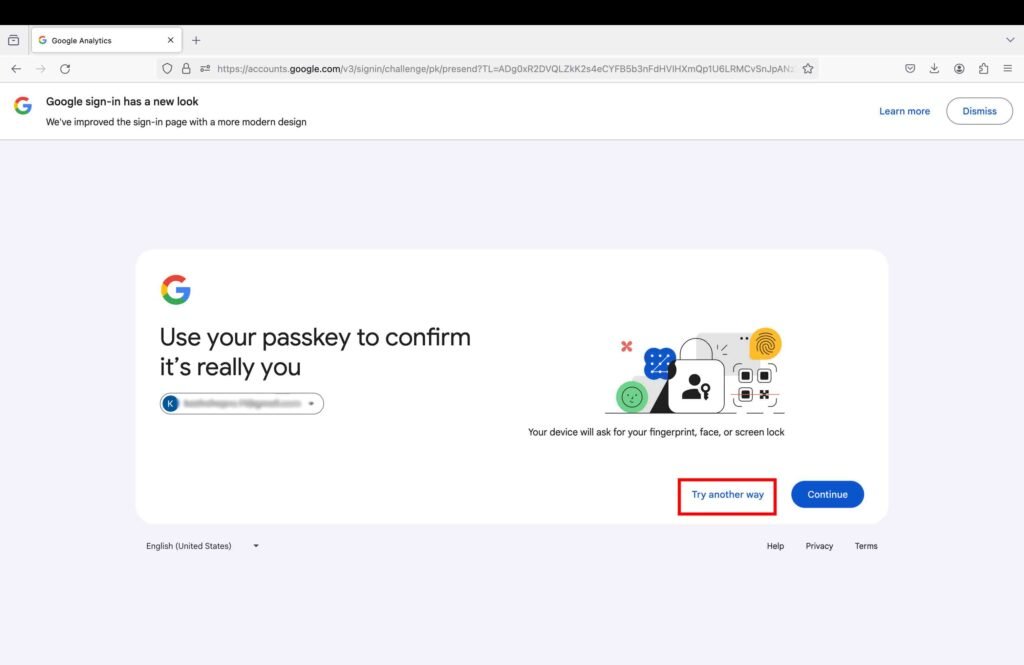
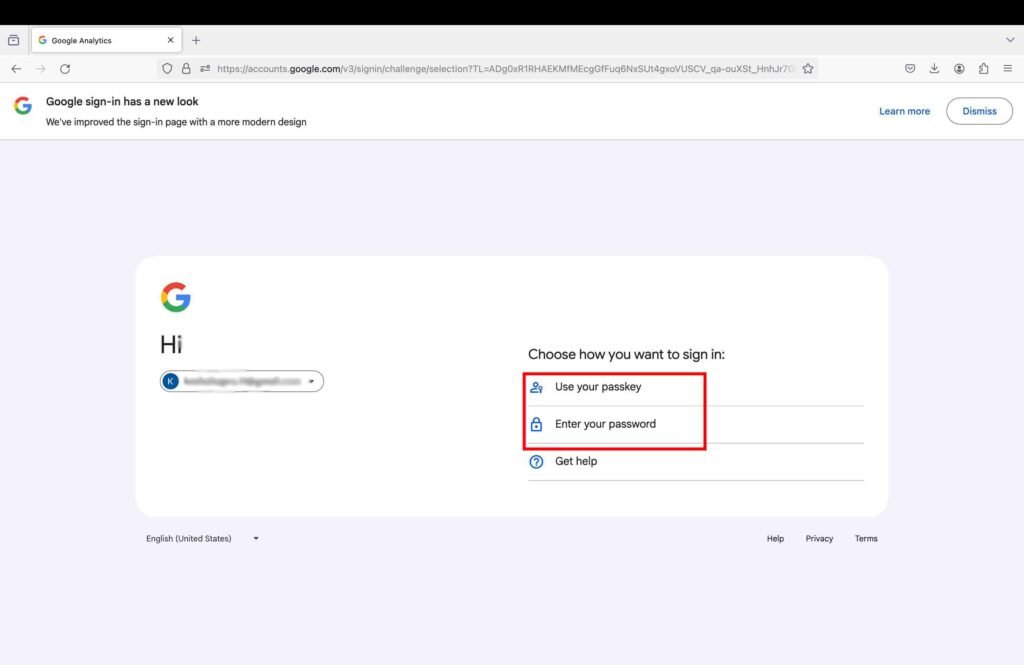
- Sign in using any of the methods provided.
2. Enter Account and Business Details
Once logged into the Google Analytics account, perform the following steps:
- Click on the “Start measuring” button to initiate the set-up.
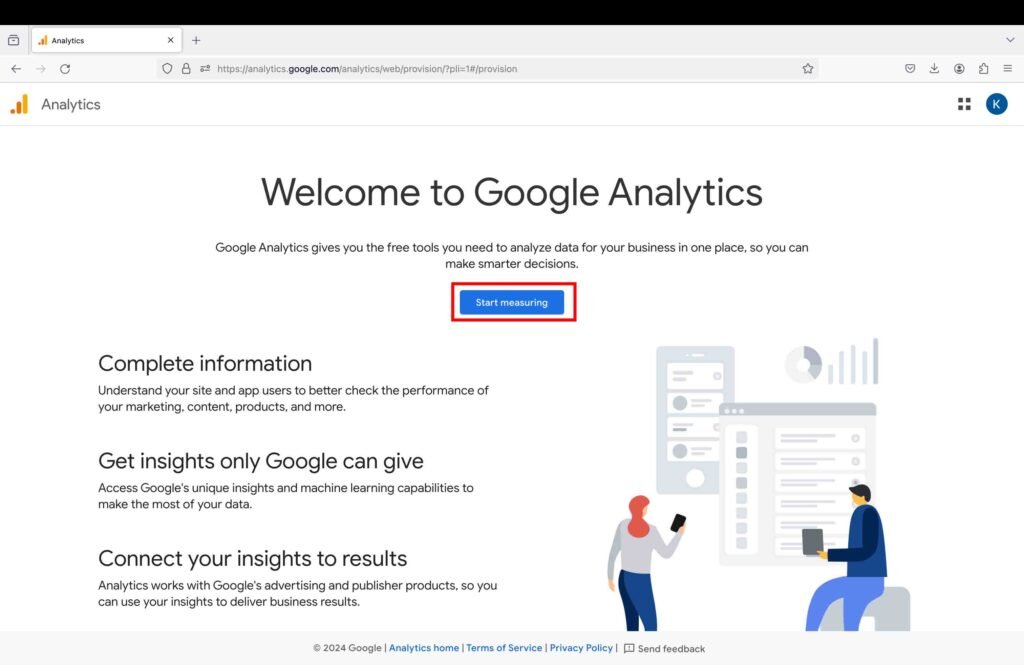
- Enter an account name. It can be your business name or the name of your website.
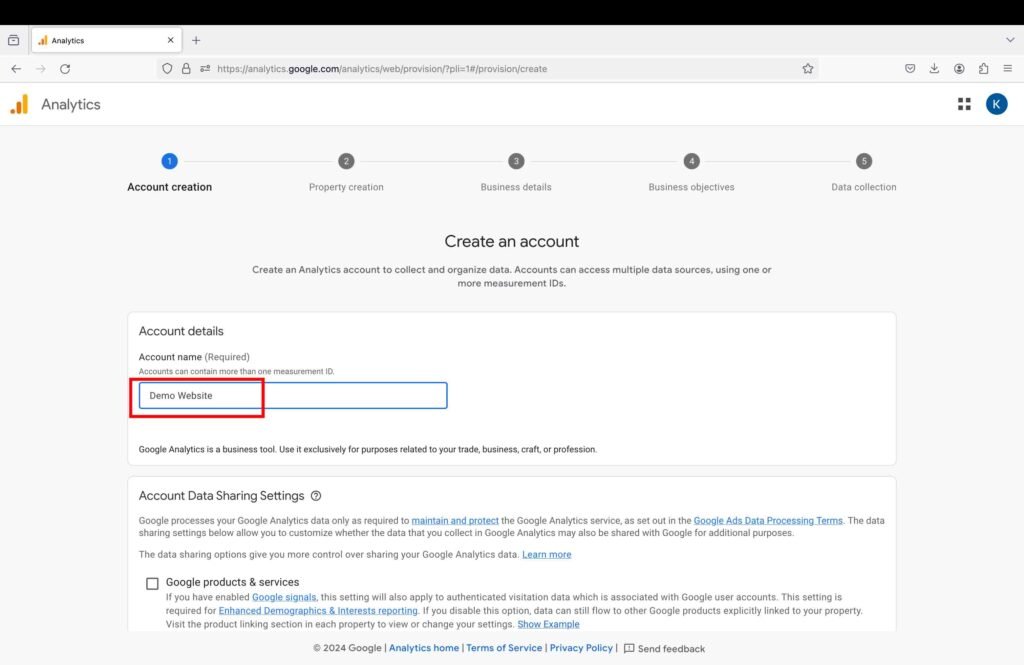
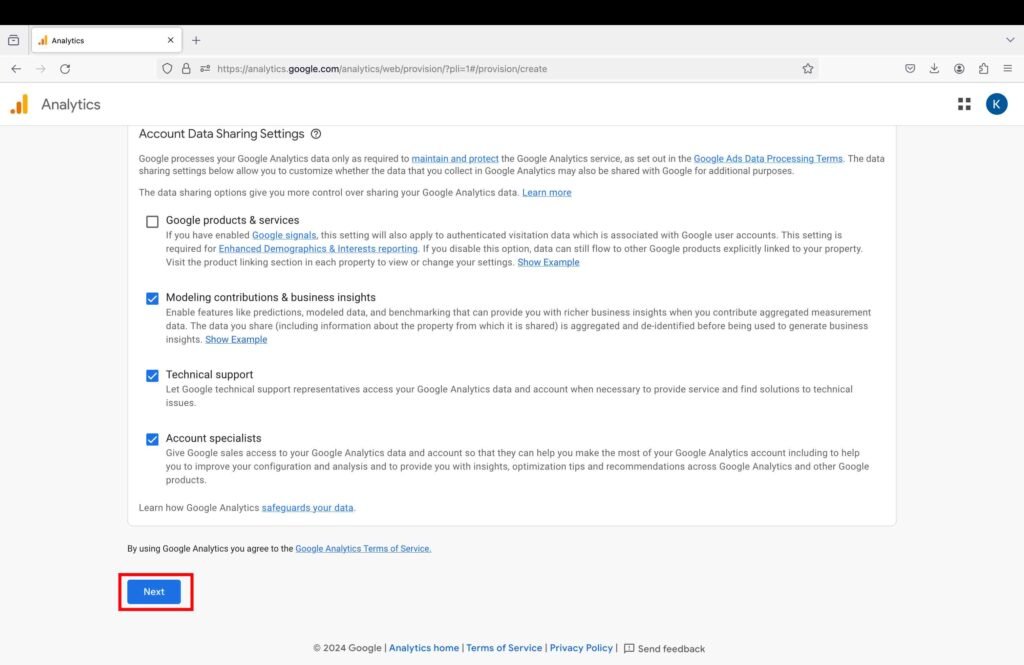
- Click “Next” to proceed further.
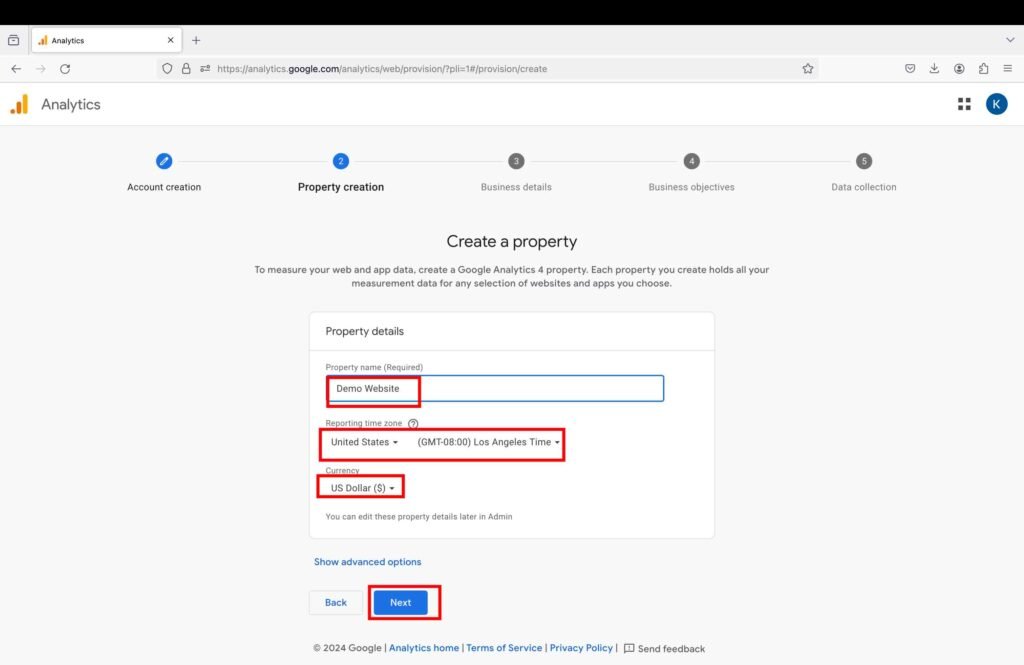
- Enter your website name.
- Select the reporting time zone and the currency.
- Click “Next”.
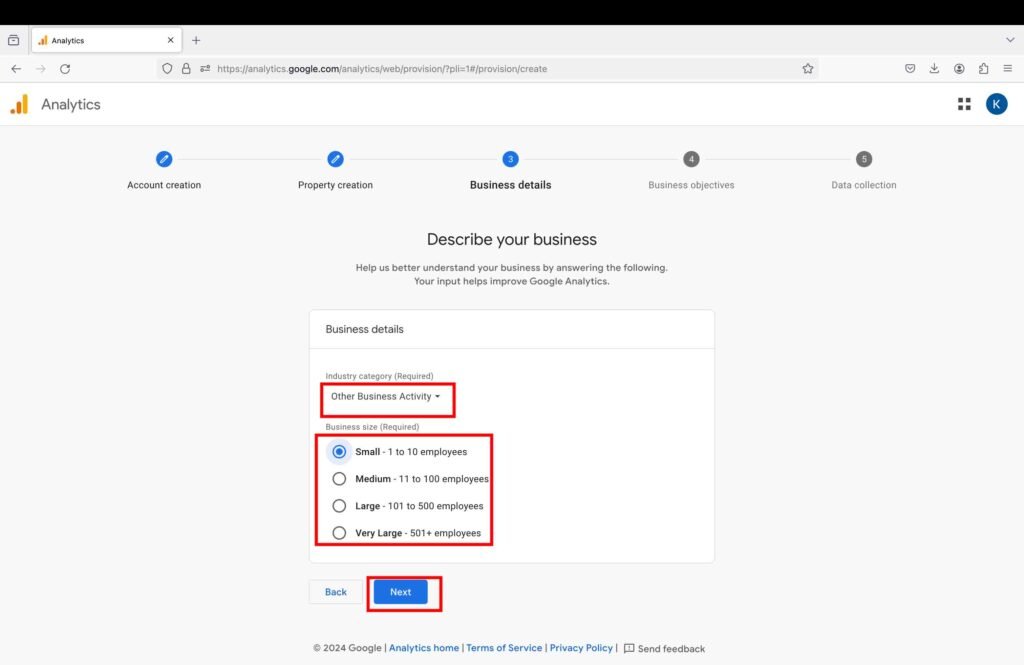
- Enter your business details, i.e., your business industry category and the number of employees.
- Click “Next”.
Even if you don’t have a registered business, you can still enter these details.
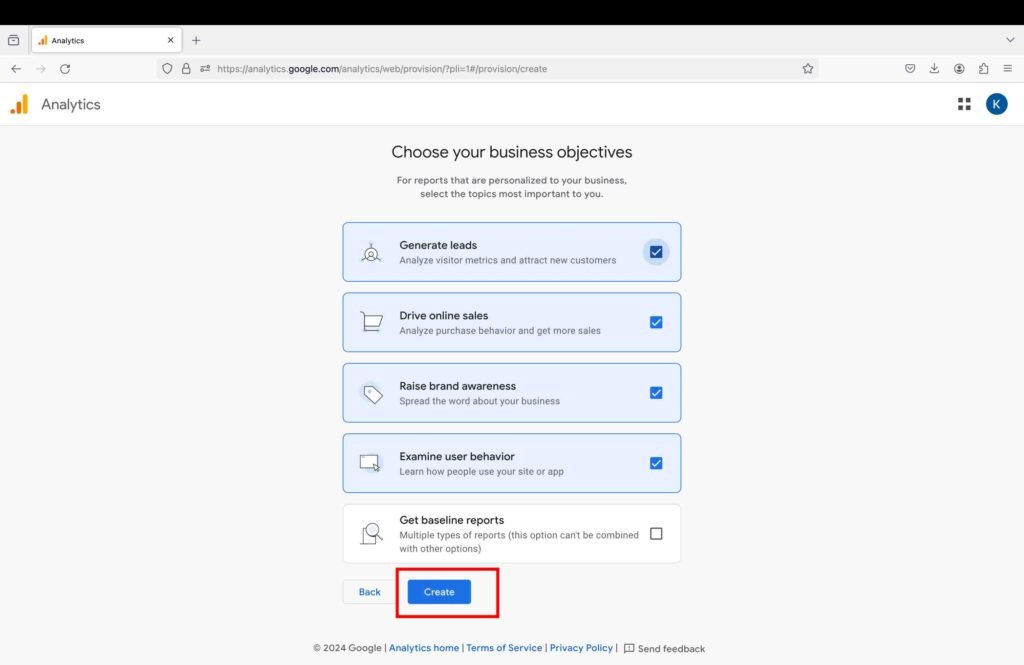
- Select your business objectives.
- Click the “Create” button to proceed further.
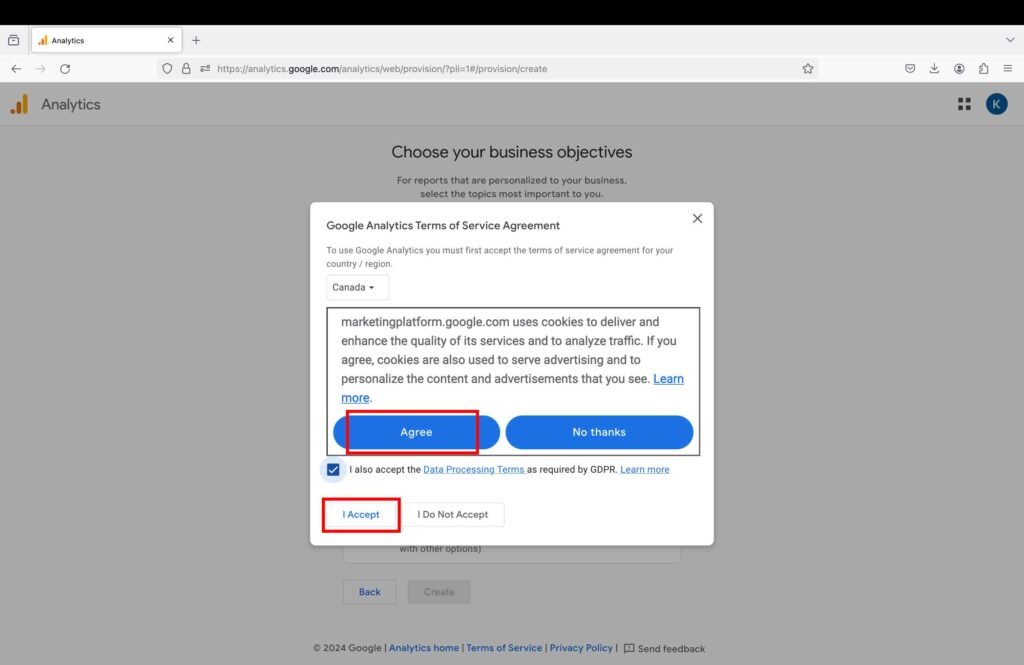
- Once you click the “Create” button, a window will pop up asking you to agree to their terms and conditions. Make sure the country is correct.
- Read the terms and conditions.
- Click the “Agree” button.
- Click the “I accept” button to proceed further.
3. Access the Metrics
Google Analytics is finally set up. You can see the metrics and access all the reports on the left panel.
